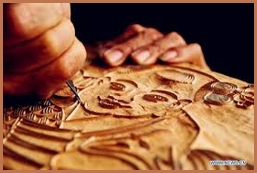
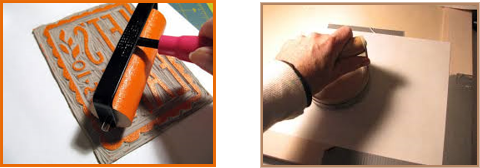
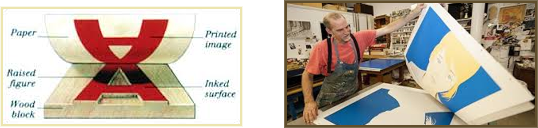
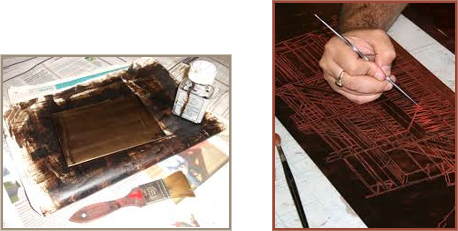
PDF File

PRINTMAKING


Unit Overview


The art of printmaking was developed by the Chinese in the first century A.D.  Printmaking involves carving a picture onto a solid surface, spreading ink over it and then pressing the inked surface onto paper.  This process allowed artists to make several copies of an original image.  Until now, the only way an artist could make copies of a work of art was to start from scratch and redraw or repaint it.  Because artists were now able to make and sell many copies of one drawing, printmaking revolutionized the art world.  In this unit, you will learn about various printmaking media, processes and techniques; then you will end by making some prints of your own.


The Basics of Printmaking

There are several varieties of printmaking available for artists to use, but they all consist of three basic steps.  The first is making a printing plate.  This is the surface that your image will either be carved or cut into for printing. 


The printing plate is a mirror image of the final print.  Next, the artist will use a brayer to apply the ink to the paper, and a baren to transfer the ink to the paper.  A brayer is a roller with a handle that is used to apply the paint to the plate.  


 A baren is a rubbing tool that transfers the ink from the plate to the paper.


The artist will make a different plate for each color that is to be printed.  Each plate needs to be carefully aligned when it is placed on the paper to make a multicolor print.  This is so that all the colors appear in the correct place.  The careful matching up of all the plates of a print is called registration.


The final step is the actual printing of the image.  This is either done by hand or by a printing press.  Prints can be made with many different materials, but in the end, all prints are made by using one of four basic printing techniques – relief printing, intaglio, lithography, and screen printing.  


Relief Printing

If you’ve ever used a rubber stamp and an ink pad, you’ve made a relief print.  Relief prints are some of the most common types of prints made because there are many different materials available for use.  Basically, a relief print is any image that is printed from a raised background.  One of the most popular types of relief prints is wood cut, but these types of prints can also be made with linoleum, rubber, or even a potato! 
           
First, a design must be drawn on the plate.  Next, the artist carves away the area that will be the background, leaving only the image he wants to be printed.


After all the unwanted parts are gone, the artist rolls ink onto the plate with a brayer. 


The plate is placed face-down on a piece of paper, and they are both flipped over so that the paper is now on top of the plate.  Finally, the artist uses a baren or a press to transfer the ink from the plate to the paper.  The paper is then carefully pealed off the plate to reveal the image.


Intaglio

Another option for printmakers is called intaglio.  Intaglio is a technique in which an image is cut or etched into a hard surface and then ink fills in the grooves.  A metal plate is first covered with a thin layer of a tar-like substance used as a protective coating.


A sharp tool is used to scratch an image in the tar, exposing the bare metal.  The metal plate is then placed in an acid bath, and the acid eats away at the exposed parts making grooves in the plate. 


The tar is removed, and ink is rolled over the entire plate.  Then, the plate is wiped clean.  The only ink that remains is what is trapped in the grooves.  Paper is placed on top of the plate and then run through a press to transfer the ink in the grooves onto the paper. 


Lithography

Lithography is based on the principle that oil and water don’t mix.  In lithography, an image is drawn on limestone, zinc or aluminum with a grease pencil.  When the stone is dampened, the water won’t stick to the greasy image.  When the plate is inked, the oil-based ink will only stick to the image, not the wet surface.


Paper is pressed onto the plate and the image is transferred.  The result is called a lithograph.


Screen Printing

The final printing process we will discuss is screen printing.  This is a printmaking technique in which a stencil is placed over a fabric screen.  The part of the screen not covered by the stencil allows ink to soak through onto the printing surface (usually paper or cloth).


A separate screen needs to be made for each color that the artist wants to use in the artwork. 


Screen prints are not only used for creating beautiful artwork, but are also used quite often when making logos on t-shirts or advertisements on posters.  A completed screen print is called a serigraph. 


Making Relief Prints
           
Now that you have basic information on printmaking, it’s time for you to try your hand at creating your own masterpieces.  For this unit, you will be making two relief prints by using potatoes and sponges.  There are many short “how to” videos on these types of prints on You Tube.  Feel free to watch a few before making your projects if you like.  Remember, be creative!  Be sure to take pictures of your prints so that you can upload them when you take the test for this unit.  You’ll be graded on proper technique and creativity. 

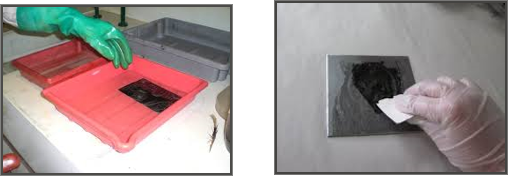
PROJECT #1 – POTATO PRINTS

In this project, you will create great looking prints with stamps made from potatoes.  Click here  to view the step-by-step guide on “How To Make Potato Stamps & How To Create Potato Prints."  For a printable version, click on the PDF.  After experimenting with the technique a bit, you need to make a card and wrapping paper for whatever holiday or occasion you wish.  If you don’t have cookie cutters, you can cut out your own design using a small kitchen knife.  PLEASE BE SURE TO ALWAYS HAVE AN ADULT SUPERVISE OR HELP YOU WHEN USING A KNIFE!!
 
 
PROJECT #2 – SPONGE PRINTS

In this project, you will create a sponge print. Click here  to view the step-by-step guide on “Sponge Painting."  For a printable version, click on the PDF.  After experimenting with the technique a bit, you need to make a print with an underwater theme.  Be creative.  Add several different shapes of fish, sea life, seaweed and other things you might see in the ocean.

Below are additional educational resources and activities for this unit.

Unit 13 Resource 1

Unit 13 Resource 2