DIGITAL PRODUCTIVITY: IMAGES

DIGITAL PRODUCTIVITY: IMAGES
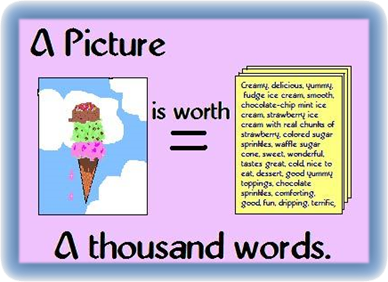 The saying, "A picture is worth a thousand words," means that an expressive picture can represent in one glance what may be written in many words. So, images are a great way to illustrate your ideas and improve a document. Microsoft Word that you learned about in Unit 11 offers a number of ways to insert images into a document. A picture, photo, or clip art are images. If you have a photo or picture on your computer, you can insert it into a Word document. Microsoft Word has many clip art images available for just about every topic, so you can find the perfect clip art image for your document.
|
||||||
Clip Art

Clip Art is a simple ready-made picture. By adding clip art in a document, you can emphasize important information.
| To insert Clip Art into a Word document | |
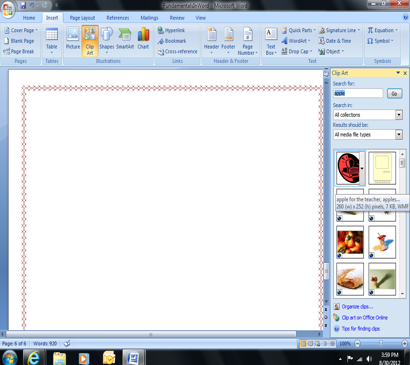 |
1. Open a blank Word document.
2. Left-click on the Insert Tab on the Ribbon. 3. Click on the Clip Art button.
|
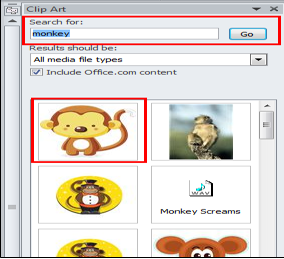
| 4. When the search bar pops up, type words in the Search for box related to the clip art image you want, and left click Go.
5. After you have found the Clip Art image you want, double click on it, and it will appear in your Word document. |
 |
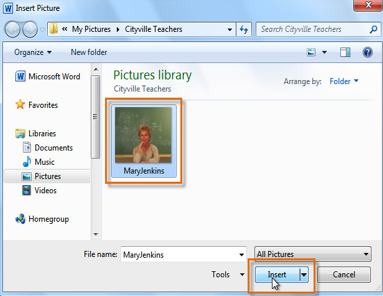
| To insert a Picture from a file into a Word document | |
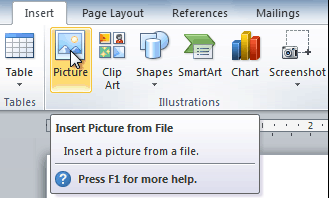 |
1. Place the insertion point where you want the picture to appear on your Word document. 2. Select the Insert Tab. 3. Click on the Picture button. |
| 4. Select the picture you want from your Pictures library. 5. Click Insert to add it to the Word document. |
 |
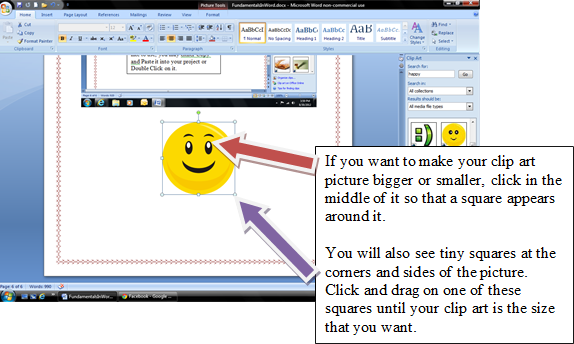
| To resize a Clip Art or a Picture |
 |
Click on the link to watch the video "Word 2010: Insert Pictures" or click on the video.
Wrap-up and Review
This unit showed you how to insert pictures and clip art images into a Word document. Many Google images may be found at https://images.google.com. Other websites also have pictures that you may use in school projects.
Activity: Click on the image and complete the Inserting Clip Art and Picture Activity. Share your completed work with your parents and teacher.
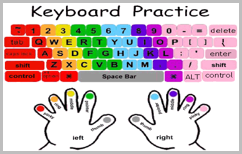
Go back to Unit 3: Keyboarding! You should practice your keyboarding skills on the next lesson after the one you stopped on the last time. Keep track of your work. Click here to download and fill out the chart. Show it to your parents and teacher, so they can see your keyboarding skill progress.

Below are additional educational resources and activities for this unit.